In Part 1, I described the four components of an emergency fire: an ignition source, tinder, kindling, and all-night fuel.
The ignition source is what provides sufficient heat to ignite the tinder. There are a number of ways to do this; you can do it with a magnifying glass if you have sufficient sunlight, you can use a battery and steel wool if the battery isn’t dead, you can make a fire bow if you are really industrious and have the time.
I want to look at things you might take with you that are practical to carry and in my opinion, more useful than any of those things. I’m going to limit this to things I’ve tried.
The first and most obvious thing is a simple Bic lighter. A lot of people swear by these. They are cheap, simple, lightweight, small, and easy to operate. They have a few drawbacks; they can leak and the fluid will evaporate. If the thumb valve gets depressed in your pocket or pack, it will empty the lighter very quickly. They have mechanical parts that can break. In cold temperatures the butane won’t vaporize.
These drawbacks can be overcome; the easiest way is just to carry two of them. I have one in my pack and I put a small O-ring around the lighter, under the valve, so it doesn’t get pressed while I’m carrying it around. You can handle the low temperature problem by warming the lighter next to your body before you use it.
If you are going to carry just one ignition source, a butane lighter would be a good choice.
The second ignition source is matches. Since you want matches that will operate if you fall in a river, you will want waterproof matches. You can either buy (or make) waterproof matches, or you can put normal matches in a waterproof container.
If you aren’t using strike-anywhere matches, you will need a striker. I purchased a repair kit for the Exotac Matchcap. It has several small striker strips with adhesive on the back. I just stuck one on the cap of a waterproof match container, and put a second one on a piece of paper that I folded and slipped into the container with the matches. To keep the matches from sliding around and wearing on each other, I put a small piece of cotton under the cap. It has the added advantage of being a source of tinder.
You can purchase waterproof matches, or even waterproof storm matches that burn longer. I made some myself by wrapping about 6” of cotton thread around a match right behind the head. It makes about a half inch of cotton behind the head. If you dip the entire match quickly into melted wax, it will coat the head and soak into the cotton, making a longer burning waterproof match.
The final ignition source is a ferro cerium rod, sometimes called a flint striker (even though it isn’t really flint) or a firesteel . This is a rod made of iron, cerium, and some other rare earth elements. When you scrape it with a knife blade or other hard, edged metal blade, you scrape off some of the material and ignite it. The sparks are about 3000 degrees F, but they aren’t very large particles so they are only going to ignite something that easily lights. Something like a cotton ball.
I like the ferro rod because it’s waterproof, small, and versatile. It has no moving parts. The disadvantage is that it takes a little practice to use effectively and it won’t easily light a piece of paper or a piece of wood. It produces sparks, not an open flame.
The ferro rod is available with plastic handles and you often see it used to “throw” sparks at whatever you are trying to light. I’ve found it most effective to set the tip of the rod on a solid surface and scrape the sparks at whatever you are trying to light. It lets you aim the sparks more effectively.
You will find debates on the Internet about which brand of Ferrocerium rod is best, which produces the most sparks, which works best. I found that what matters is the size of the rod and quality of the striker. The inexpensive Coghlan’s rods or no-name rods from China seem to work about as well as the Swedish Firesteel rods. The magic is in the striker, not the rod.
For the rod, 5/16” diameter seems to be a good compromise. I haven’t tried a ½” rod, which would probably work better but they tend to be a lot longer and harder to carry around. The best striker I’ve found is either a utility knife or the edge of a scissors blade. Both are very hard steel with sharp edges, which is what you need.
I bought some mini utility knives and replacement blades. Using the knife on the rod will destroy the blade (you are using metal to scrape off metal, after all) but the blades are reversible and disposable.
For the scissors blade, I got a quality pair of small scissors, separated the two halves, removed the handles and broke off the blade to shorten it. I wrapped the “handle” end in bright orange duct tape to make it easy to see and to hold. You can use either side of the blade (the cutting edge or the back edge). I think the cutting edge works a little better, but it does tear up the rod more. But I consider these to be emergency items; if I have to use it, I’ll throw it away and replace it when I get home.
Ferrocerium rods are a bit brittle. They don’t bend very well and they can splinter when dropped. If you don’t mind a slightly larger version, you can modify it as follows to make it more durable and easier to use:
I use a 5/16” diameter rod that is drilled for a lanyard. I cut a piece of 3/8” x 3/8” x 1/16” aluminum C channel to about ½” longer than the rod.
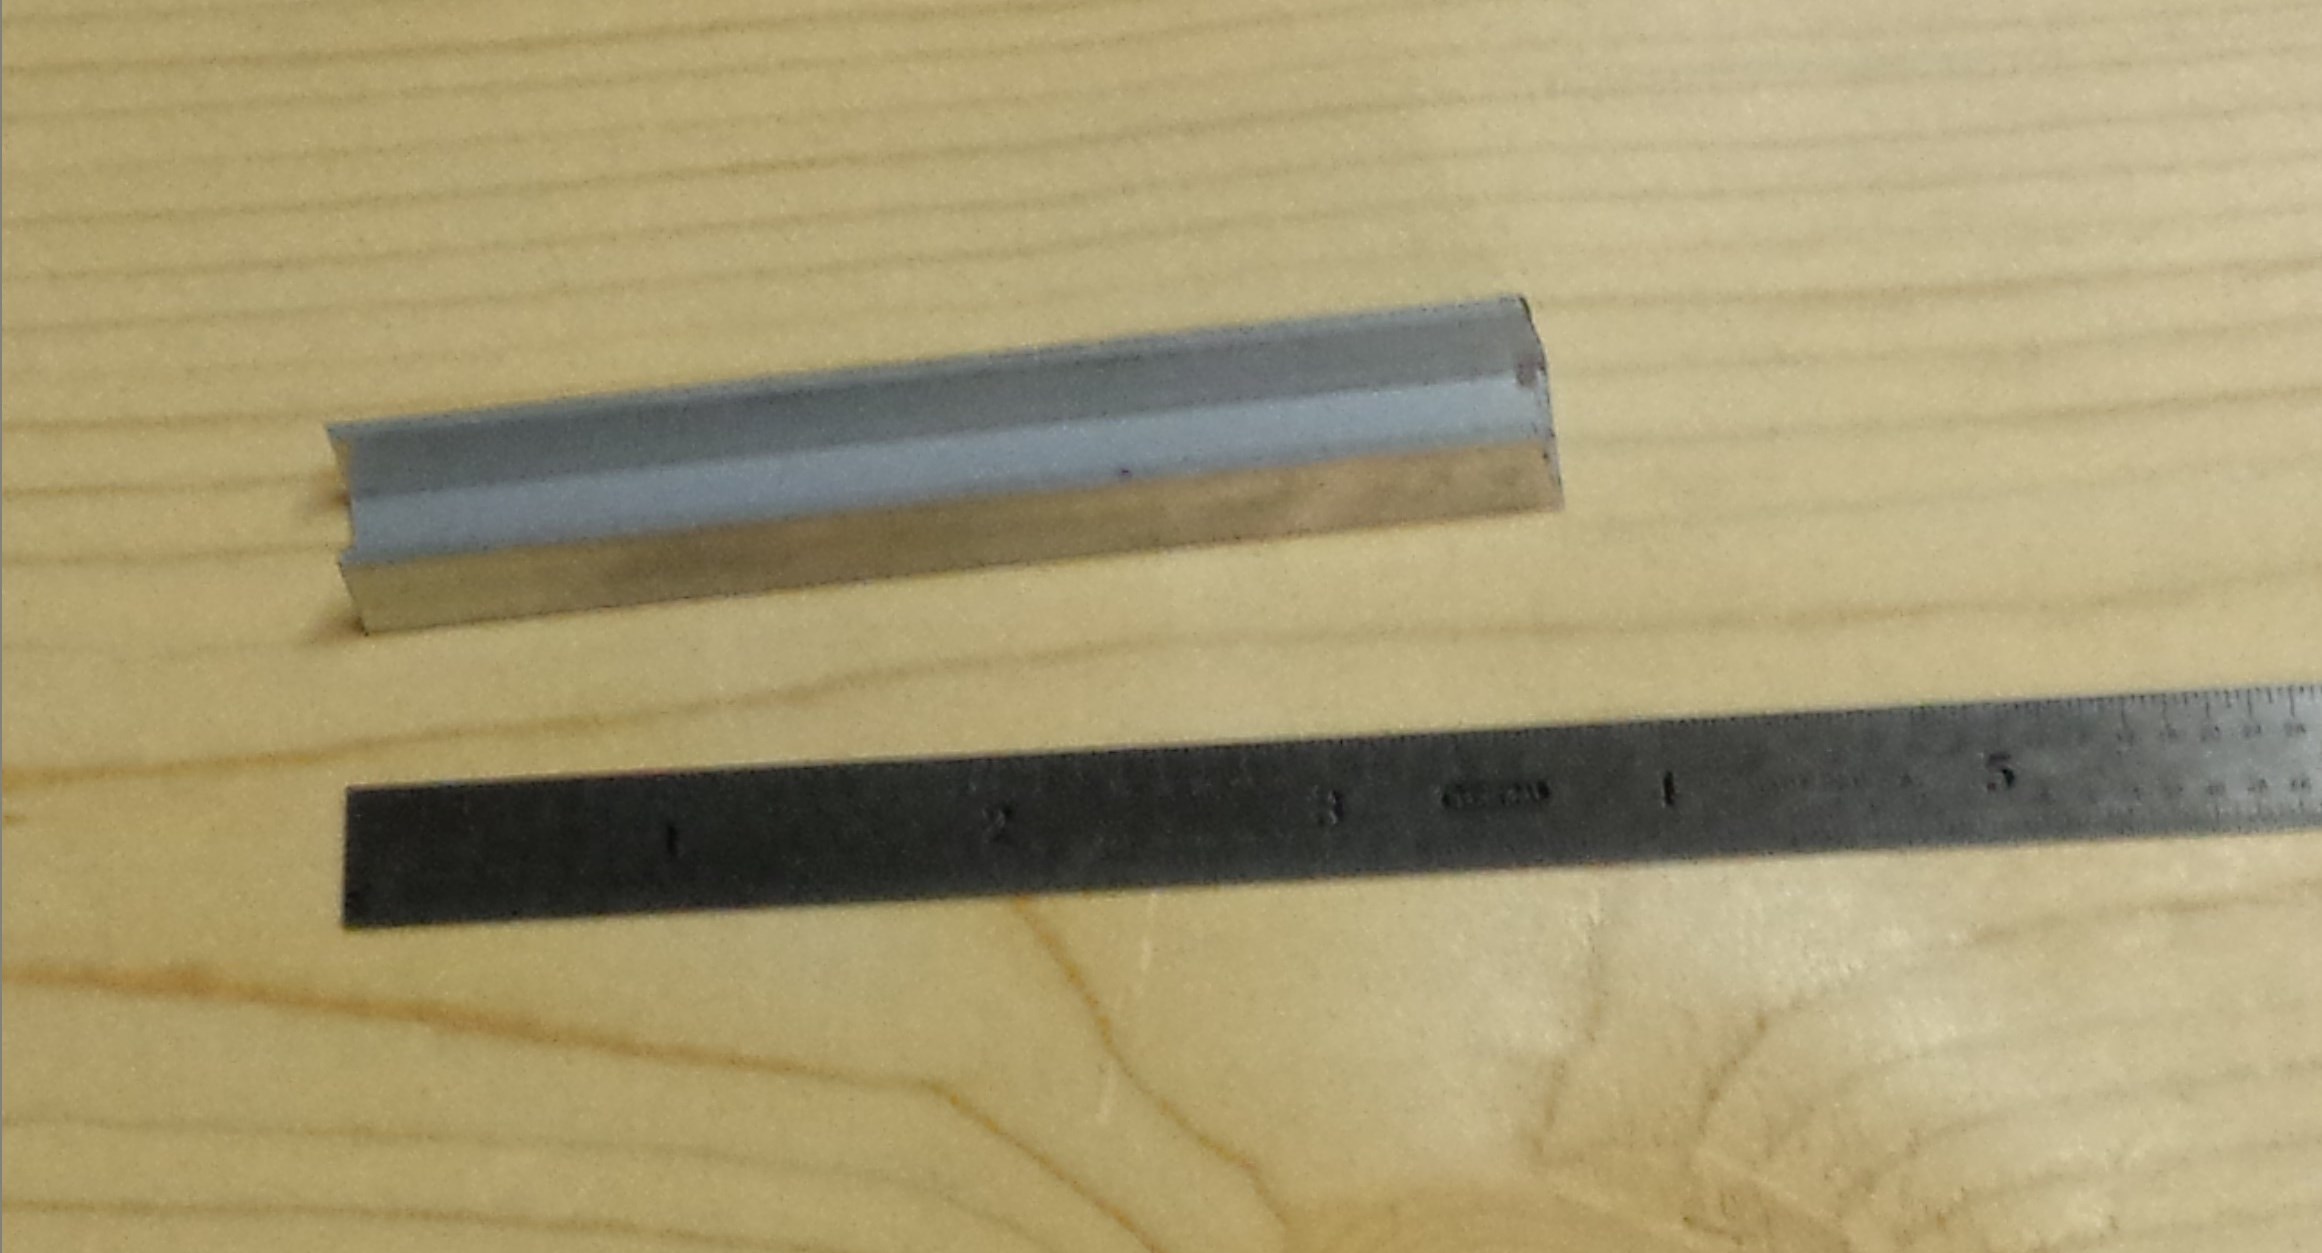
I then cut the sides off from one end, leaving about .7” at one end, and leaving about 1/16” of the sides to stiffen the bracket.
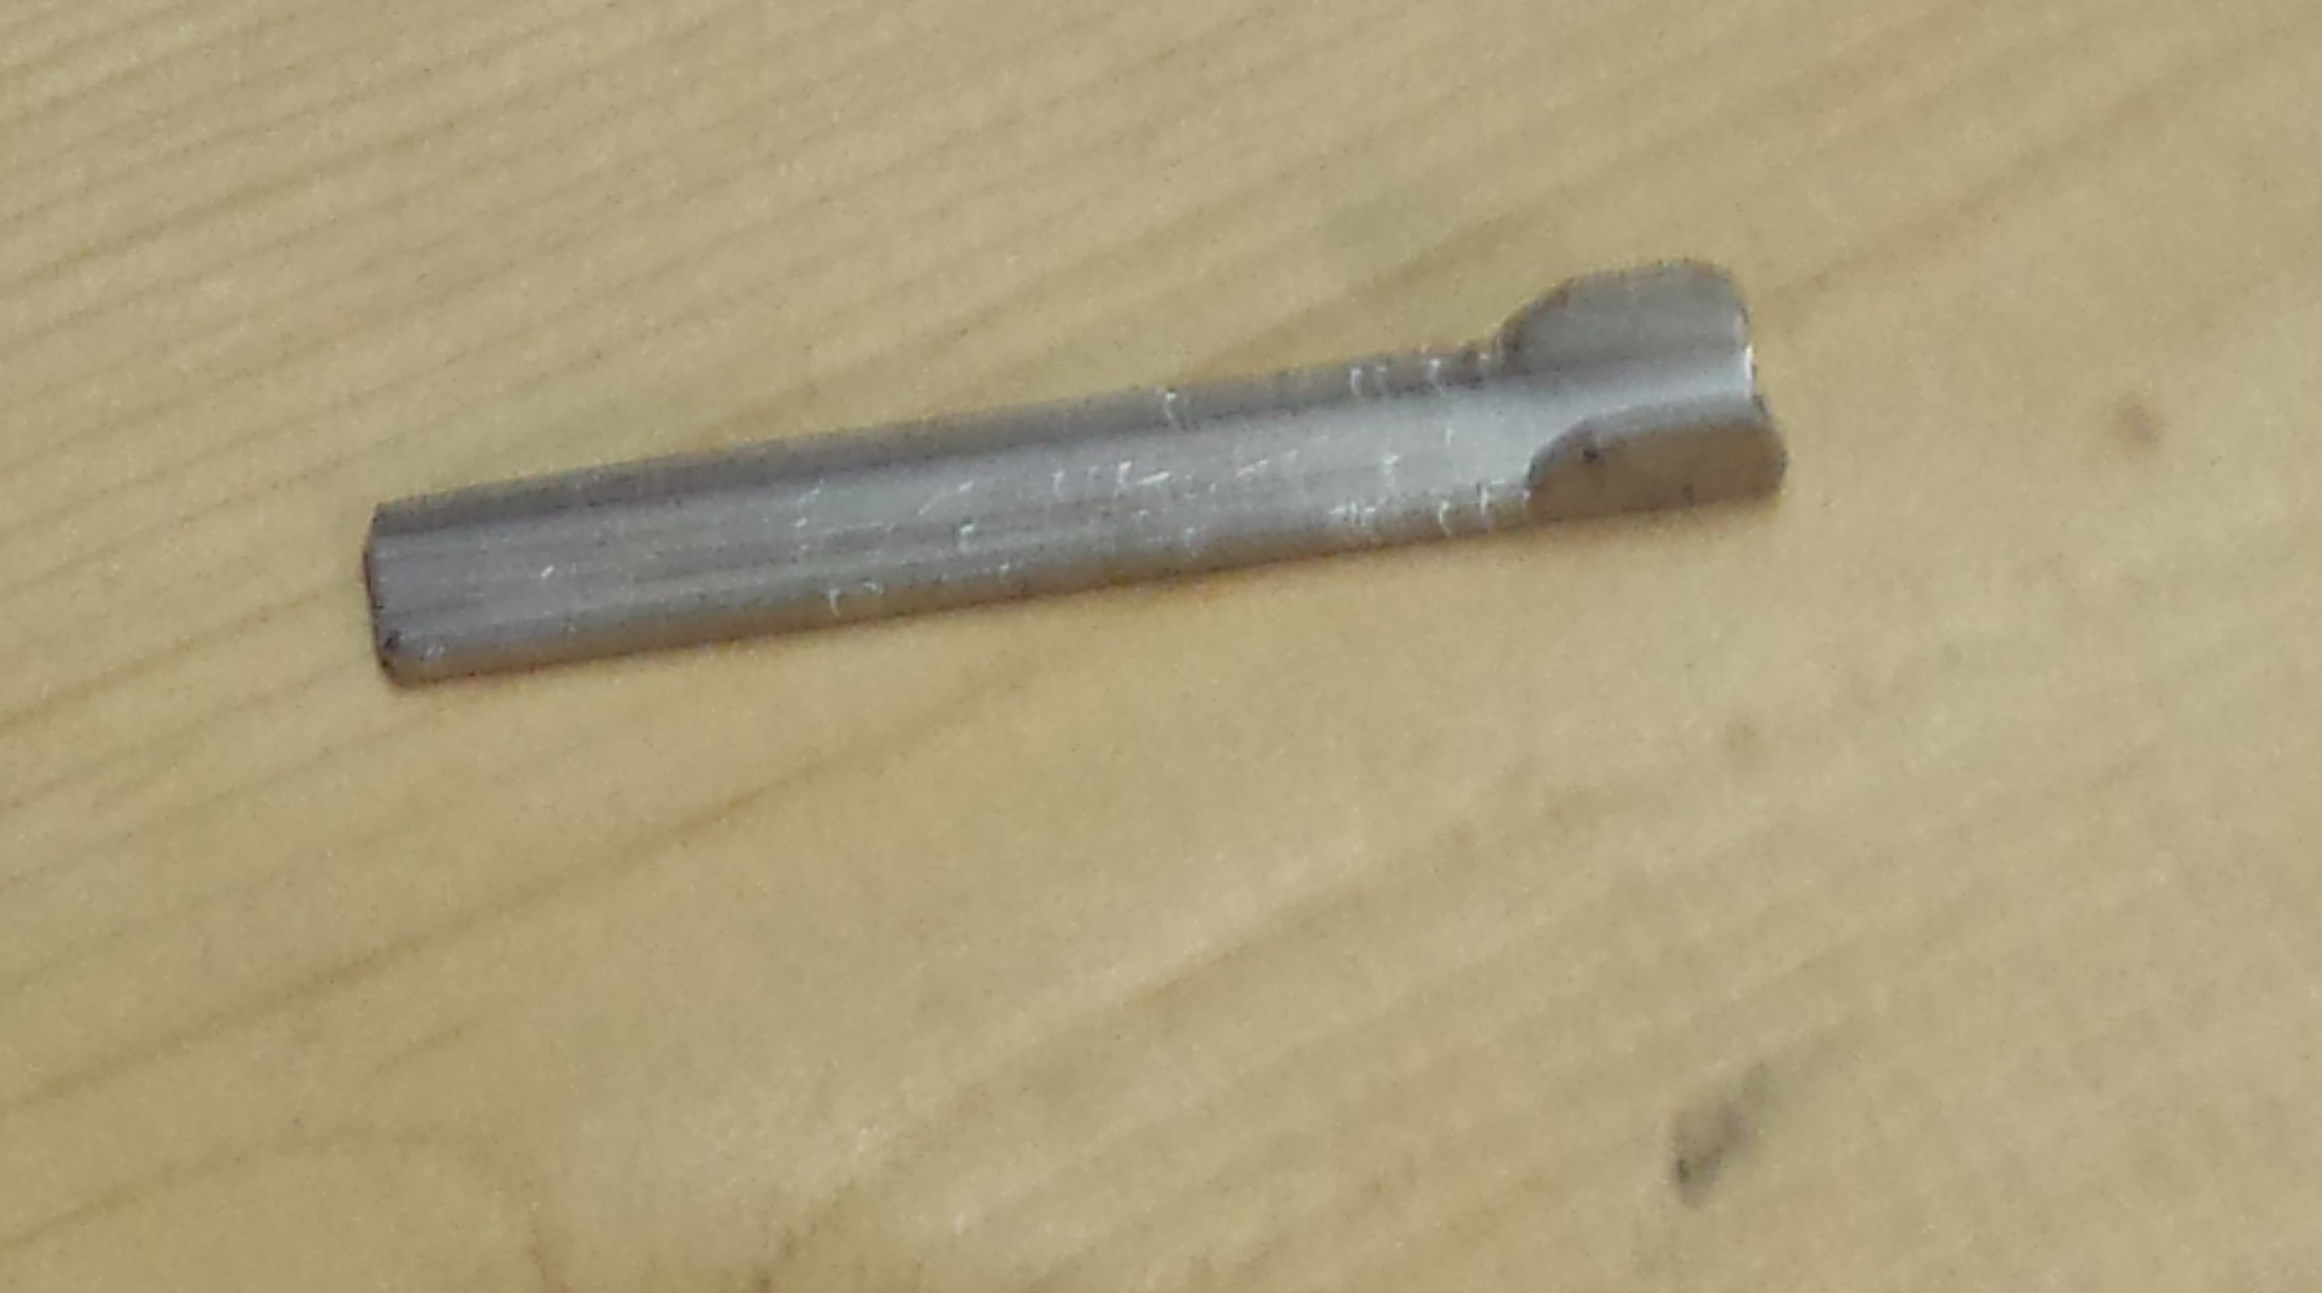
The next step is to cut a piece of inner tube about the same length as the bracket. I use this just to provide some padding for the rod; it’s really optional. You then drill a hole through the sides of the bracket so you can run a 4-40 screw through one side of the bracket, the rod, and the other side of the bracket. You drill a hole at the bottom of the bracket so you can add a support for the bottom of the rod.
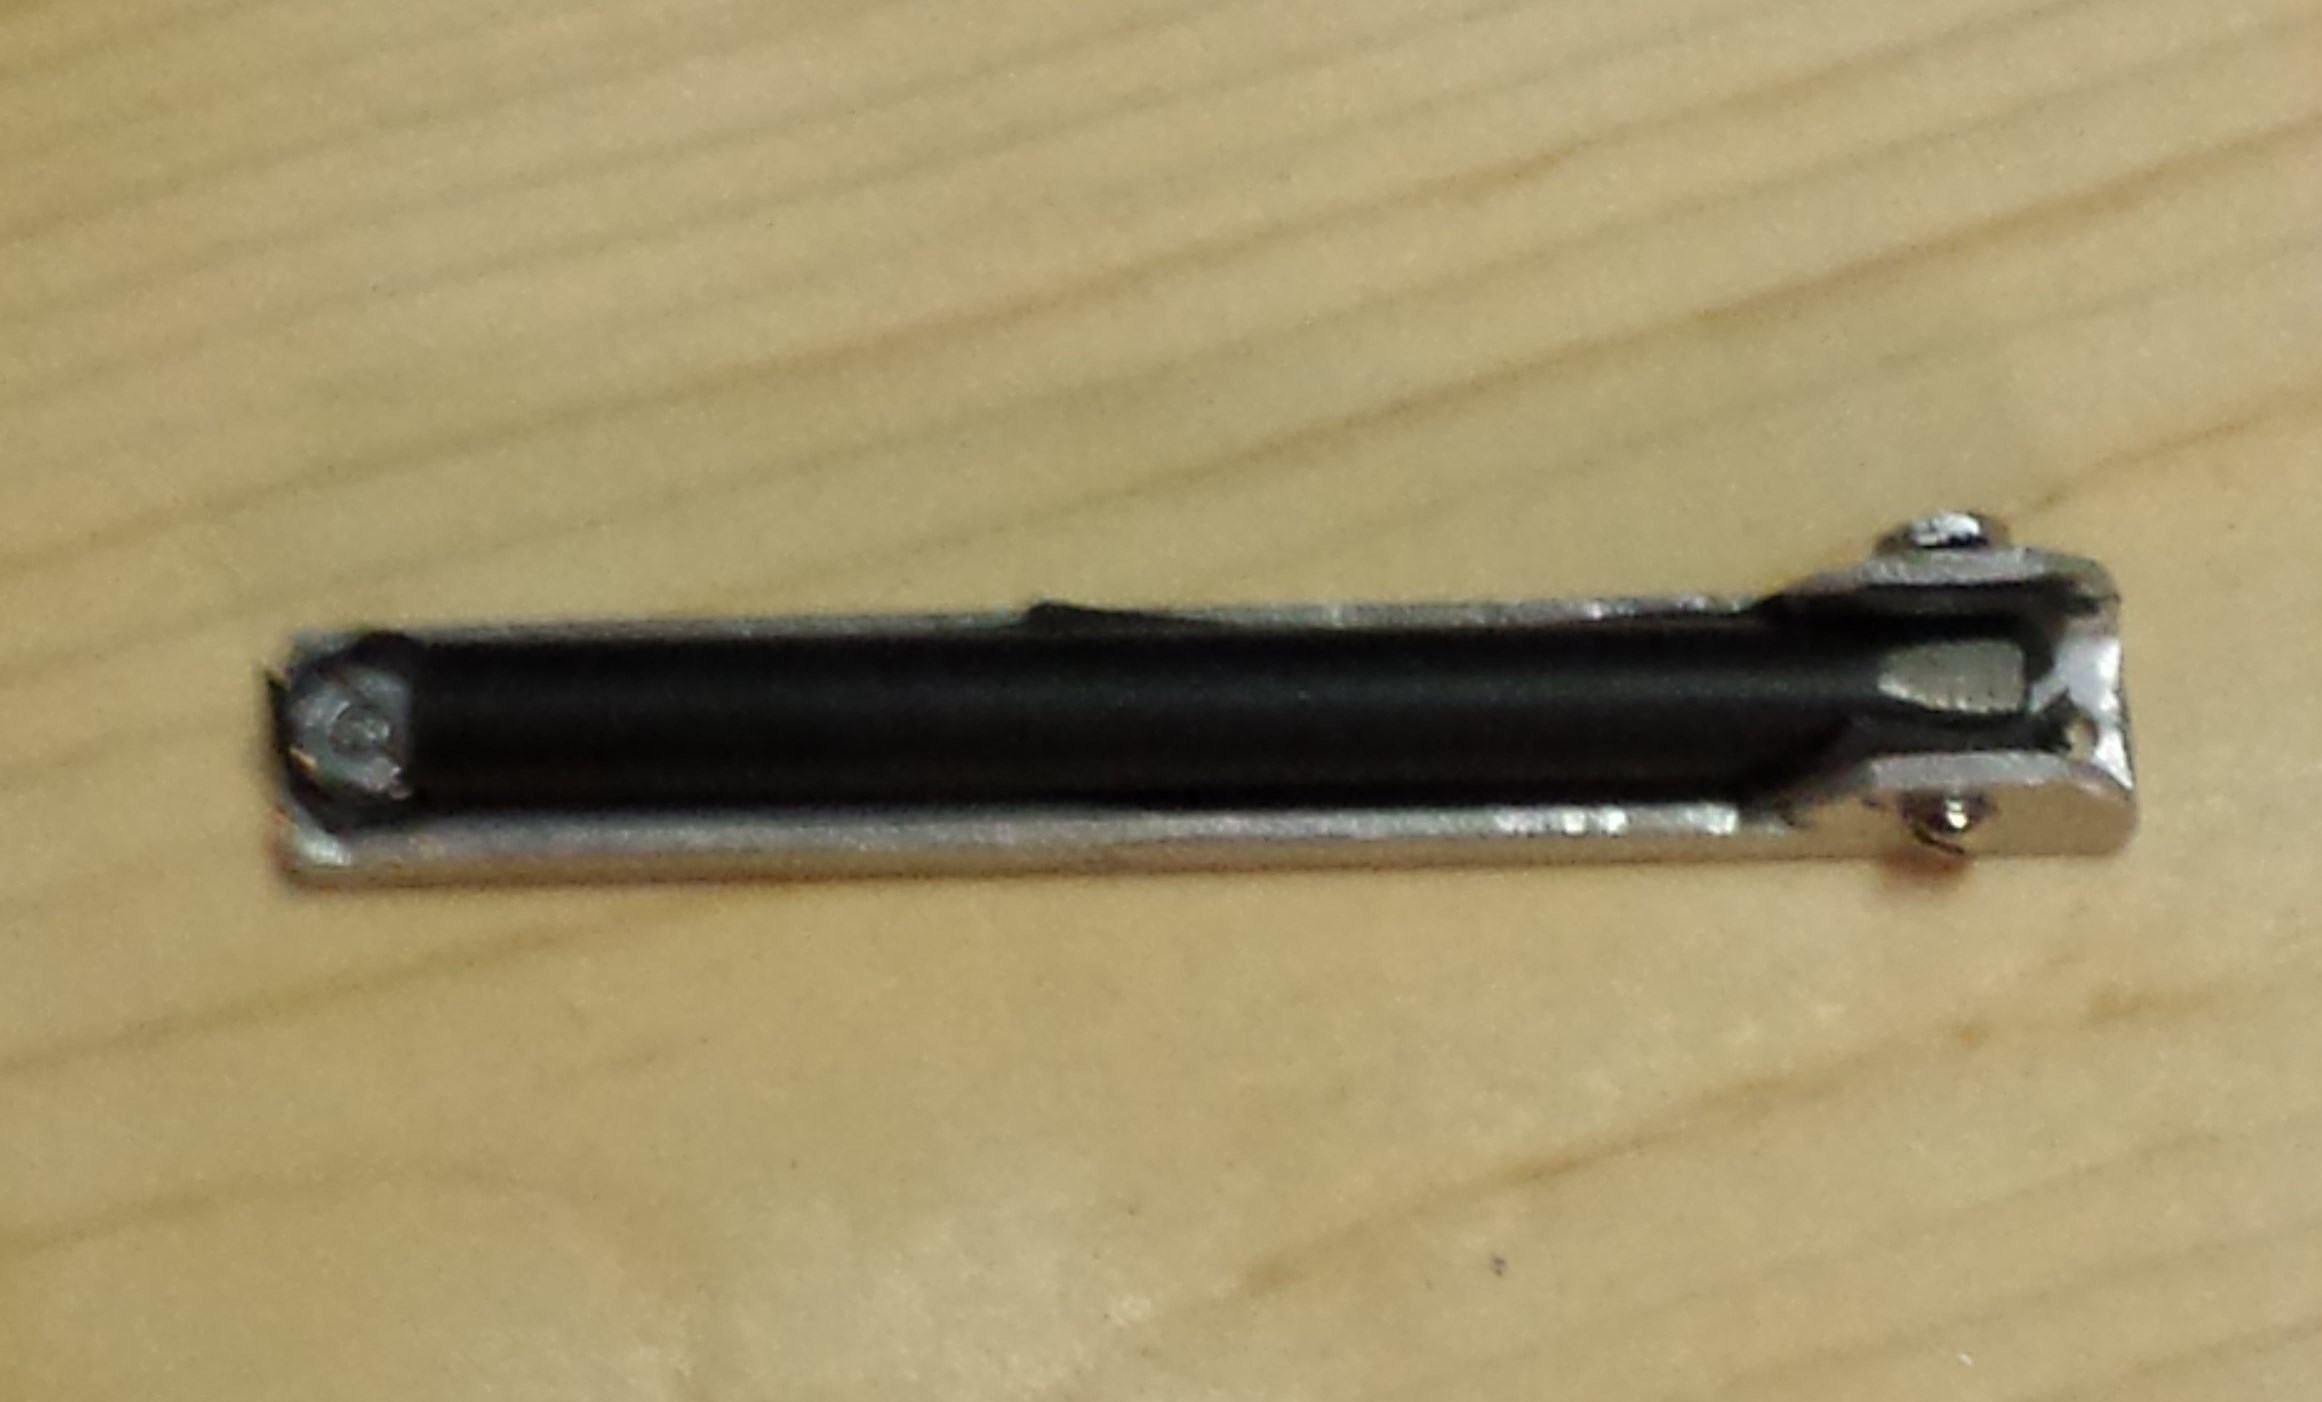
You can make the entire thing a little more compact by using a countersink for the holes in the top and bottom, and by threading the aluminum on the top instead of using a nut (use thread locker since there isn’t much thread).
Drill a hole in the top for a lanyard, if you want one.
File all the edges round so they don’t poke holes in things or cut your fingers.
When you are done, you will have about ¼” of the aluminum extending beyond the bottom end of the rod. You can rest that on a hard surface (rock, piece of wood) to steady the rod while you are shaving sparks off of it. It gives you much better control and makes it easier to light things.
I have found that pushing harder with the scraper blade and going a little slower works better than scraping as fast as possible.
I’m going to mention one thing that I haven’t actually tried, but shouldn’t need to: an emergency flare. Some people carry these. You can get flares that burn for a short time or flares for roadside use that burn longer.
I doubt many people carry flares when they are hiking. But if you do have one, they will produce a hot flame that will start a fire. If you keep flares in your car, they could be used to start a fire if you were stranded in the winter on a snowy road.
Next time we’ll look at tinder.