Having fire-starting tools is good, but there is some skill in making a fire. People who camp all the time, cooking with wood fires, will find this elementary. But a lot of day hikers have never started any fire except maybe in their charcoal grill – with half a cup of lighter fluid.
If you get lost while hiking, you will have to build a fire with what you can find. There won’t be any pre-split firewood, cured and dried and ready to light. The wood you find on the ground may be damp, especially in snowy conditions. The amount of wood you need to keep you warm all night seems ridiculously huge.
A successful fire needs two things: fuel and air. It is entirely possible to have plenty of wood to keep you warm, but to stack it so that it can’t get enough air to keep burning.
To illustrate making a fire with the jute-and-tissue kindling, I made a fire on my back porch. I built it on aluminum foil, both to keep from leaving black ash all over the concrete, and to provide some contrast.
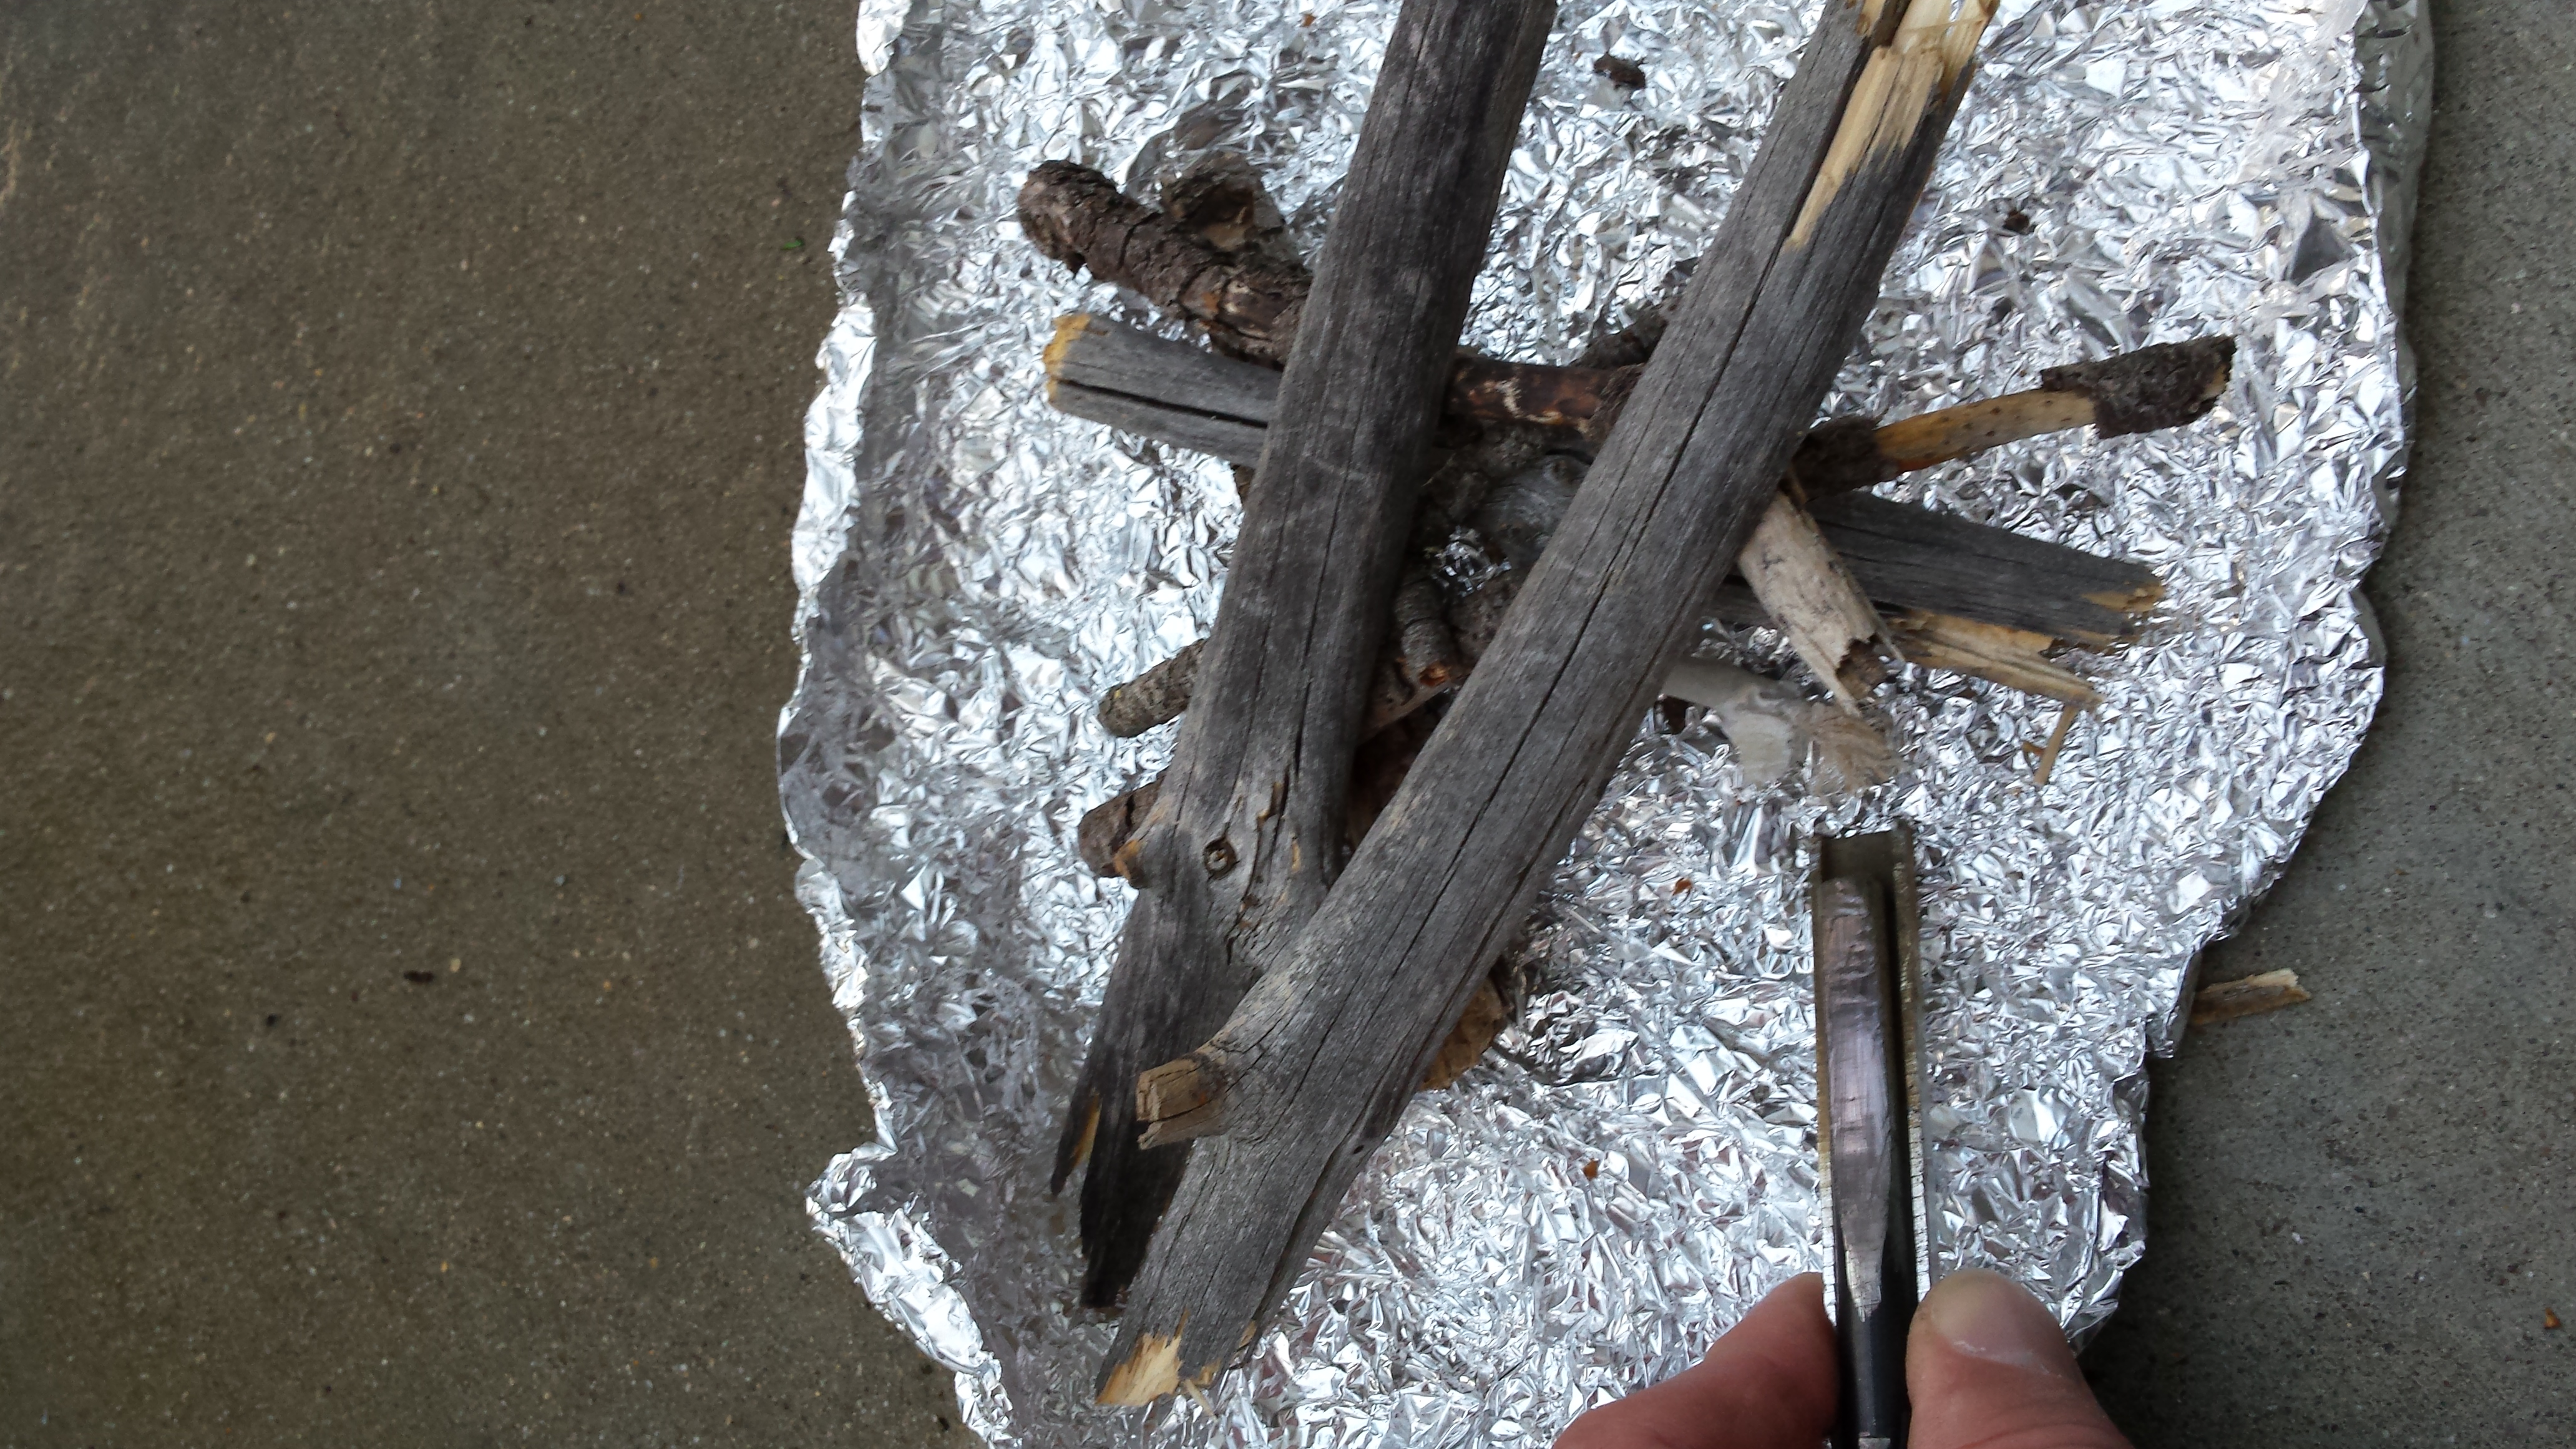
The fire in the picture was built with some small pieces I picked up to use for kindling. They were about 4” to 8” long, and the diameter ranged from about that of a pencil to that of a dime. The two larger pieces were from a dead sapling or tree branch that I found; I broke off about 10” of the small end and split it with a knife so it would burn better. This is an important idea; if you find a dead sapling or branch, you may be able to get two or three graduated sizes of kindling from the same piece of wood. I split this piece of wood with a pocket knife by working the knife down the wood until it split into two pieces. You could use a knife as a wedge and hammer it with a rock. Just don’t try to split a large piece of wood this way; you’ll break the knife.
If you look closely in the picture, you can see the jute-and-tissue kindling piece with the fibers on one end pulled apart and separated to catch a spark. I only had to scrape the ferrocerium rod twice to catch this on fire. This small fire burned for about ten minutes.
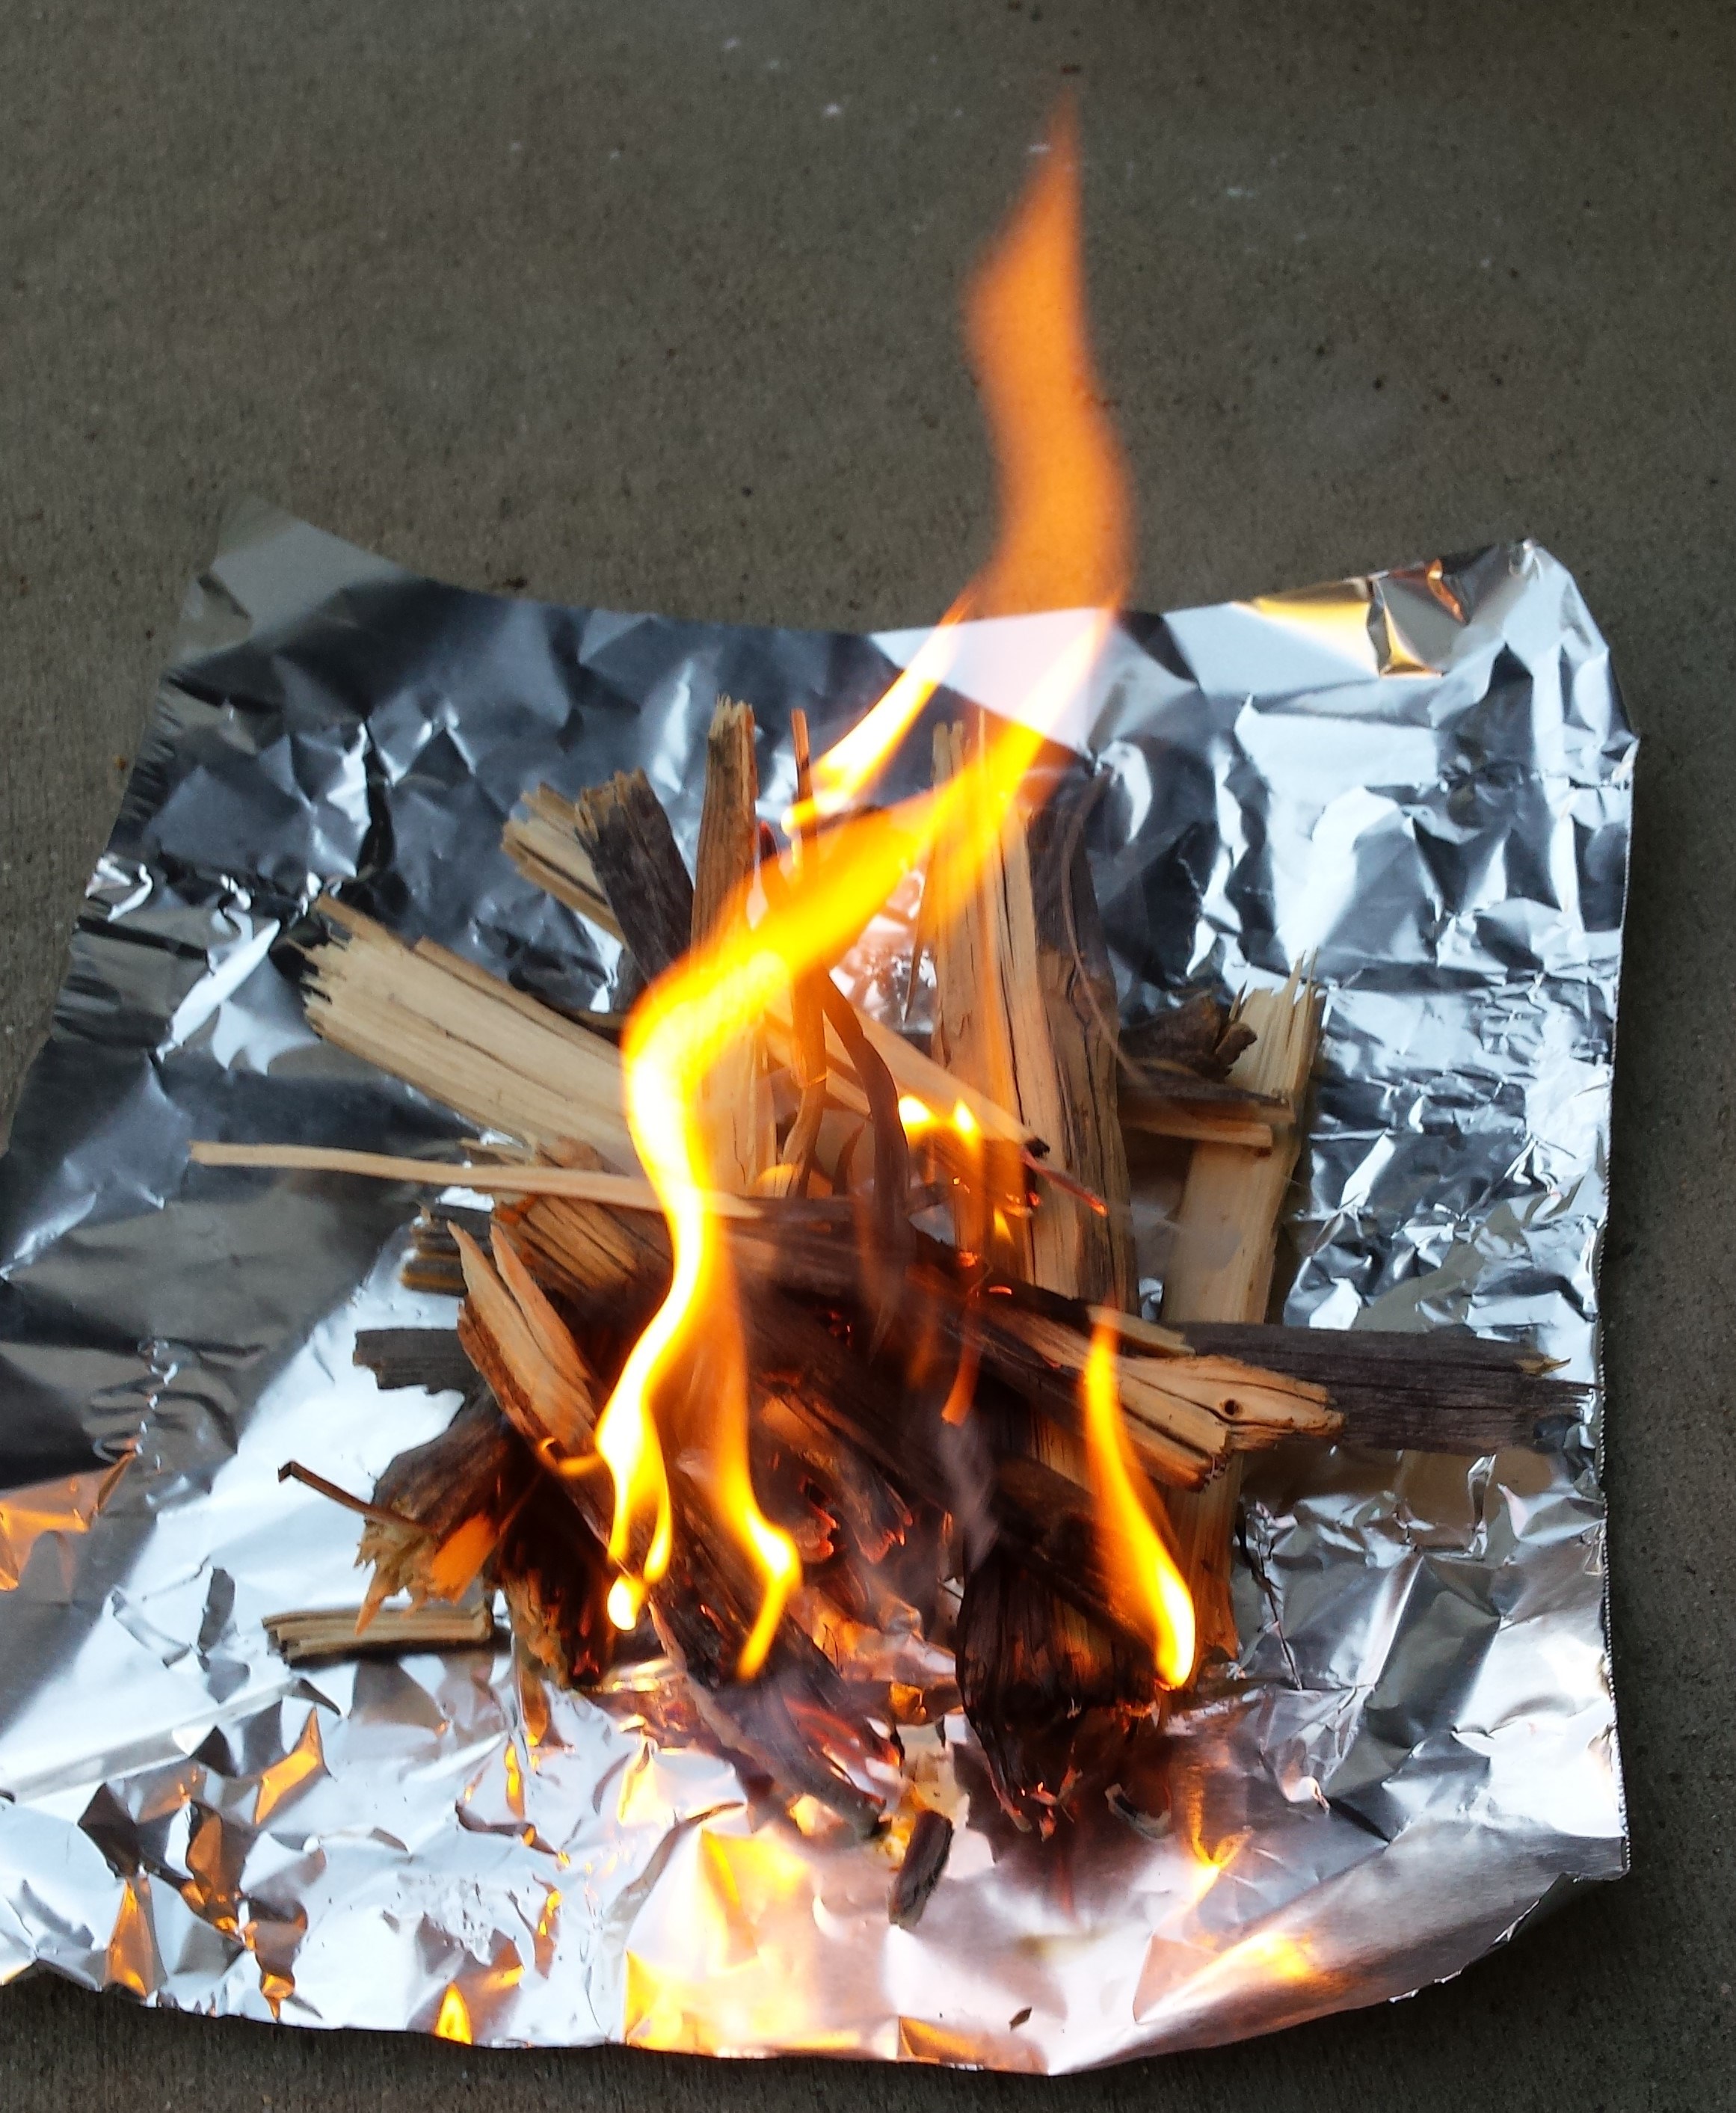
There are a couple of different ways to make a fire like this, one is to build a pyramid of kindling over a pile of tinder. That works, and it’s what I did at Brainard Lake, but it’s a little more complicated since you have to find pieces of approximately equal length to make the structure. The fire I lit here was just a mixture of small and large sticks, stacked so they would feed each other and so that there would be good airflow around them.
In a real survival situation, you would use a fire like this to ignite the larger wood that you are going to use for all-night fuel. You could build a pyramid of larger sticks (think dime-sized) over this before you light it. Or you can make a “log cabin” of sticks with this kindling fire in the middle. You can even just build a pile of sticks over this fire once it’s burning well, adding them two at a time.

These picture are of a “log cabin” that I lit with a couple of small sticks. The tips of the sticks were prepared with a few drops of lighter fluid (see the section on Chemical Tinder in the second post). For the picture, I used a green pen to show how the tinder sticks were inserted to the kindling pile. You want the sticks as vertical as possible, but the tip with the lighter fluid has to be exposed so you can light it.
Notice that the kindling structure isn’t very even. The idea of the log cabin structure is to have space between the kindling pieces so air can flow through them. But you obviously aren’t going to have kindling pieces that are all the same size. Like the earlier example, this kindling pile burned about ten minutes (obviously I removed the pen and used the sticks instead).
The one thing you don’t want to do is to get a little fire like this going and then put a 3” diameter log on it. It will probably just char and die out and you will have to start over. You want to work your way up to the larger pieces of wood, which is why you want quite a bit of kindling. You would put pieces of wood about the diameter of a dime on this fire, and then once those are burning you could go up to larger wood about the diameter of a quarter, and then to your bigger pieces.
What if you can’t find any large pieces of wood? Collect a LOT of kindling. You can keep a small fire burning all night, it just requires constant attention.
How much wood do you need? I’ve read that a double armload of wood will burn about 40 minutes. That varies with the type of wood, but think about how much wood that is if you need it to burn for eight or ten hours. That’s about 15 armloads of wood. Others say you need a pile that is as long as you are tall and about waist high. Think about the amount of wood that represents. And you may have to collect it in the hour before dark. This isn’t going to a stack of firewood and picking it up. You have to find it.
This is complicated because, in the wild, you don’t necessarily know how much of the wood will burn well; it may not be as dry as you think. So you need to collect more. Some people say collect three times as much as you think you will need. Any way you measure it, you need to collect a lot of wood if you want to be sure you can stay warm all night.
If you have a fixed-blade knife, the larger pieces will burn better if you split them. But as with splitting wood with a pocket knife, don’t try to split anything too large. You don’t want to get the knife jammed into a log. If you need to split a larger log, try splitting off pieces a half inch wide or so around the outside.
To turn a kindling fire into a real fire using larger pieces of wood, you can just scale up the kindling approach. You can build a pyramid of larger wood pieces over the kindling pile. Or you can build a log cabin around and over the kindling pile. The key is to insure that you have adequate airflow.
One way to do this is to put a couple of large logs or even a row of rocks on either side of the kindling pile. Then crisscross logs across these supports, keeping enough space to let air flow around and through the logs. You want some of the logs to be directly over the kindling fire so they are directly ignited by it.
If you read the article about my lost-hiker experience, there is a picture that shows a row of rocks behind the fire. This is important because the rocks will reflect the heat back at you, making the fire more efficient. Any way you do it, an open fire is going to literally send most of the heat up in smoke, so anything you can do to reflect some of that heat back at you will help.
The rocks you see in that picture aren’t very big, and that illustrates an important point about this kind of situation. As I’ve already mentioned, where I was hiking was all deep snow. I would have preferred a larger pile of rocks, but I didn’t have time to hunt through the snow for a better selection before it got dark. So I used what I could find in the immediate vicinity.
Next time, I’ll show you what’s in the fire kits I carry when I go hiking.